Perfect FPP project!
Whether you choose a scrappy or organized palette, these blocks will stand out. It is the perfect block to fuzzy cut fun centers. Have fun Creating and discovering new fabric combinations.
Welcome to Wensleydale Foundation Paper Piecing (FPP)!
The templates can be found in the back of the book if you would like to cut the pieces by hand, just transfer the shapes to sturdy cardboard or make your own from plastic template maker sheets.
The first word that came to mind when I saw this project was, Clever. It looked like an economy block flipped on its side and for a moment I thought that the image was distorted somehow.
I embarked on cutting all the pieces using the acrylic templates but soon realized that this was the perfect opportunity to give Foundation Paper Piecing a second try!
The instructions are easy to follow, the fabric cutting can be whatever you want it to be, meaning you can be prepared by pre-cutting or you can dig into a bucket of scraps and allow whatever wants to be produced, to emerge effortlessly. The latter is the approach I took.
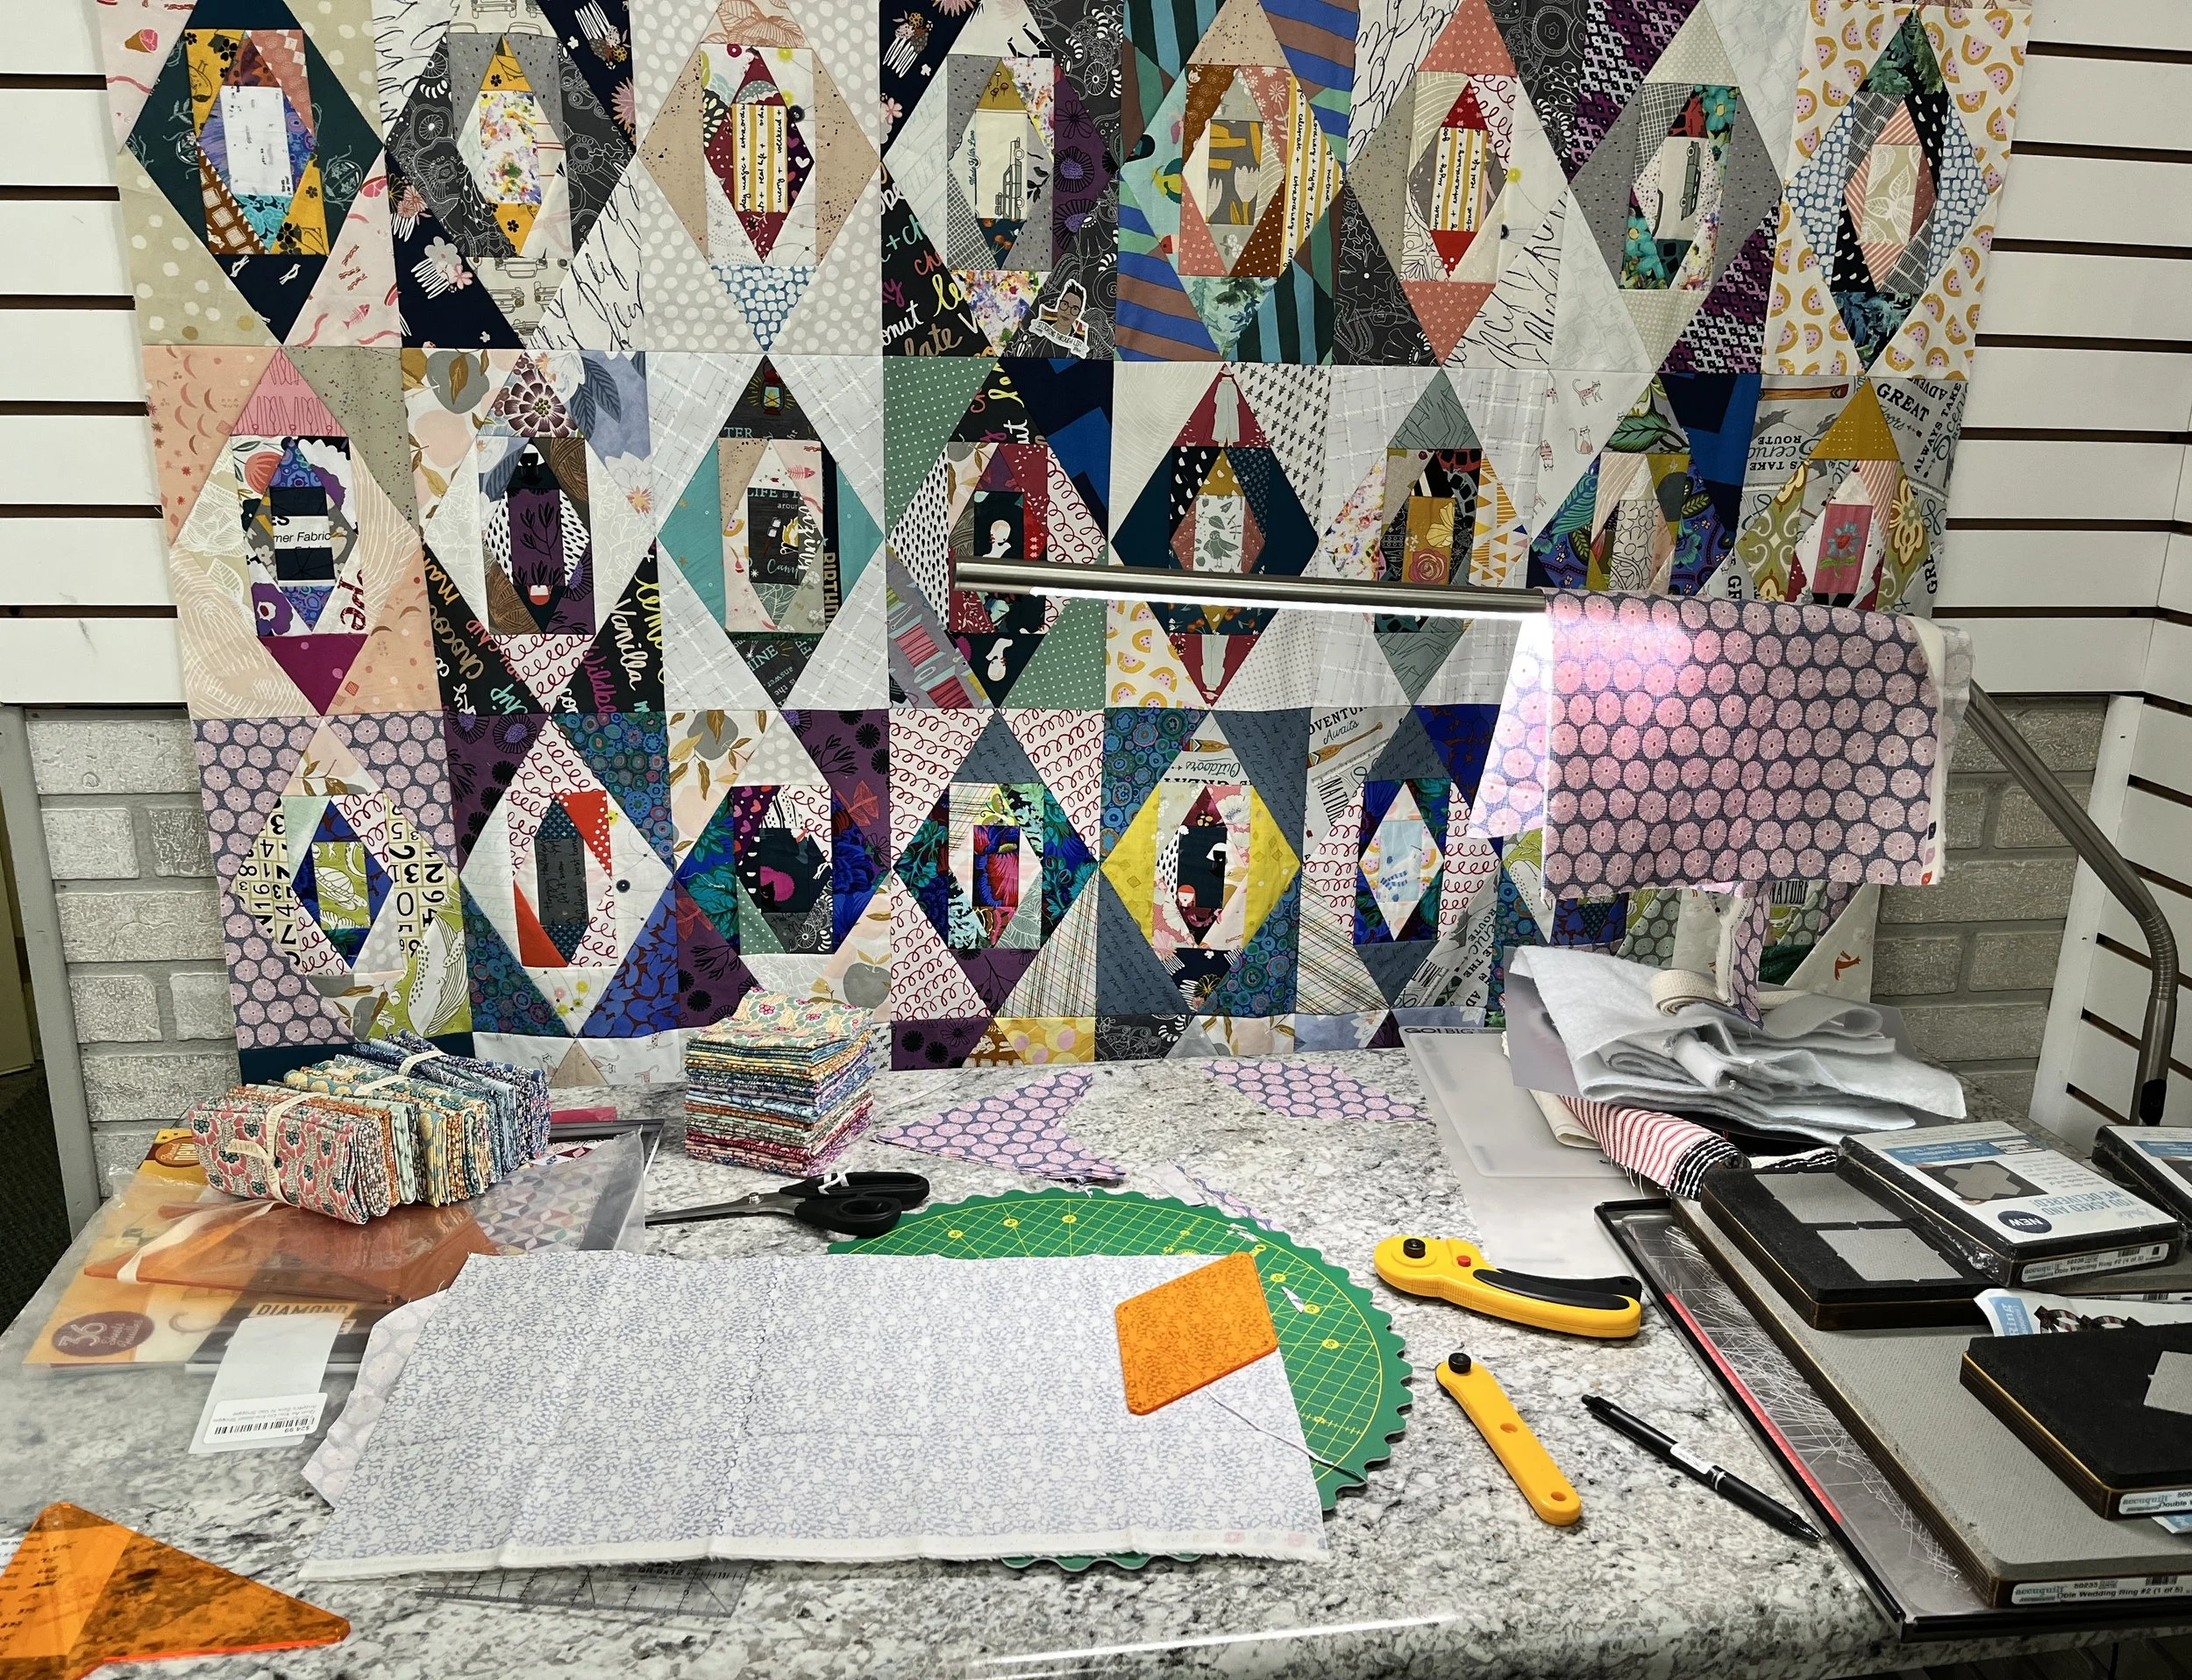
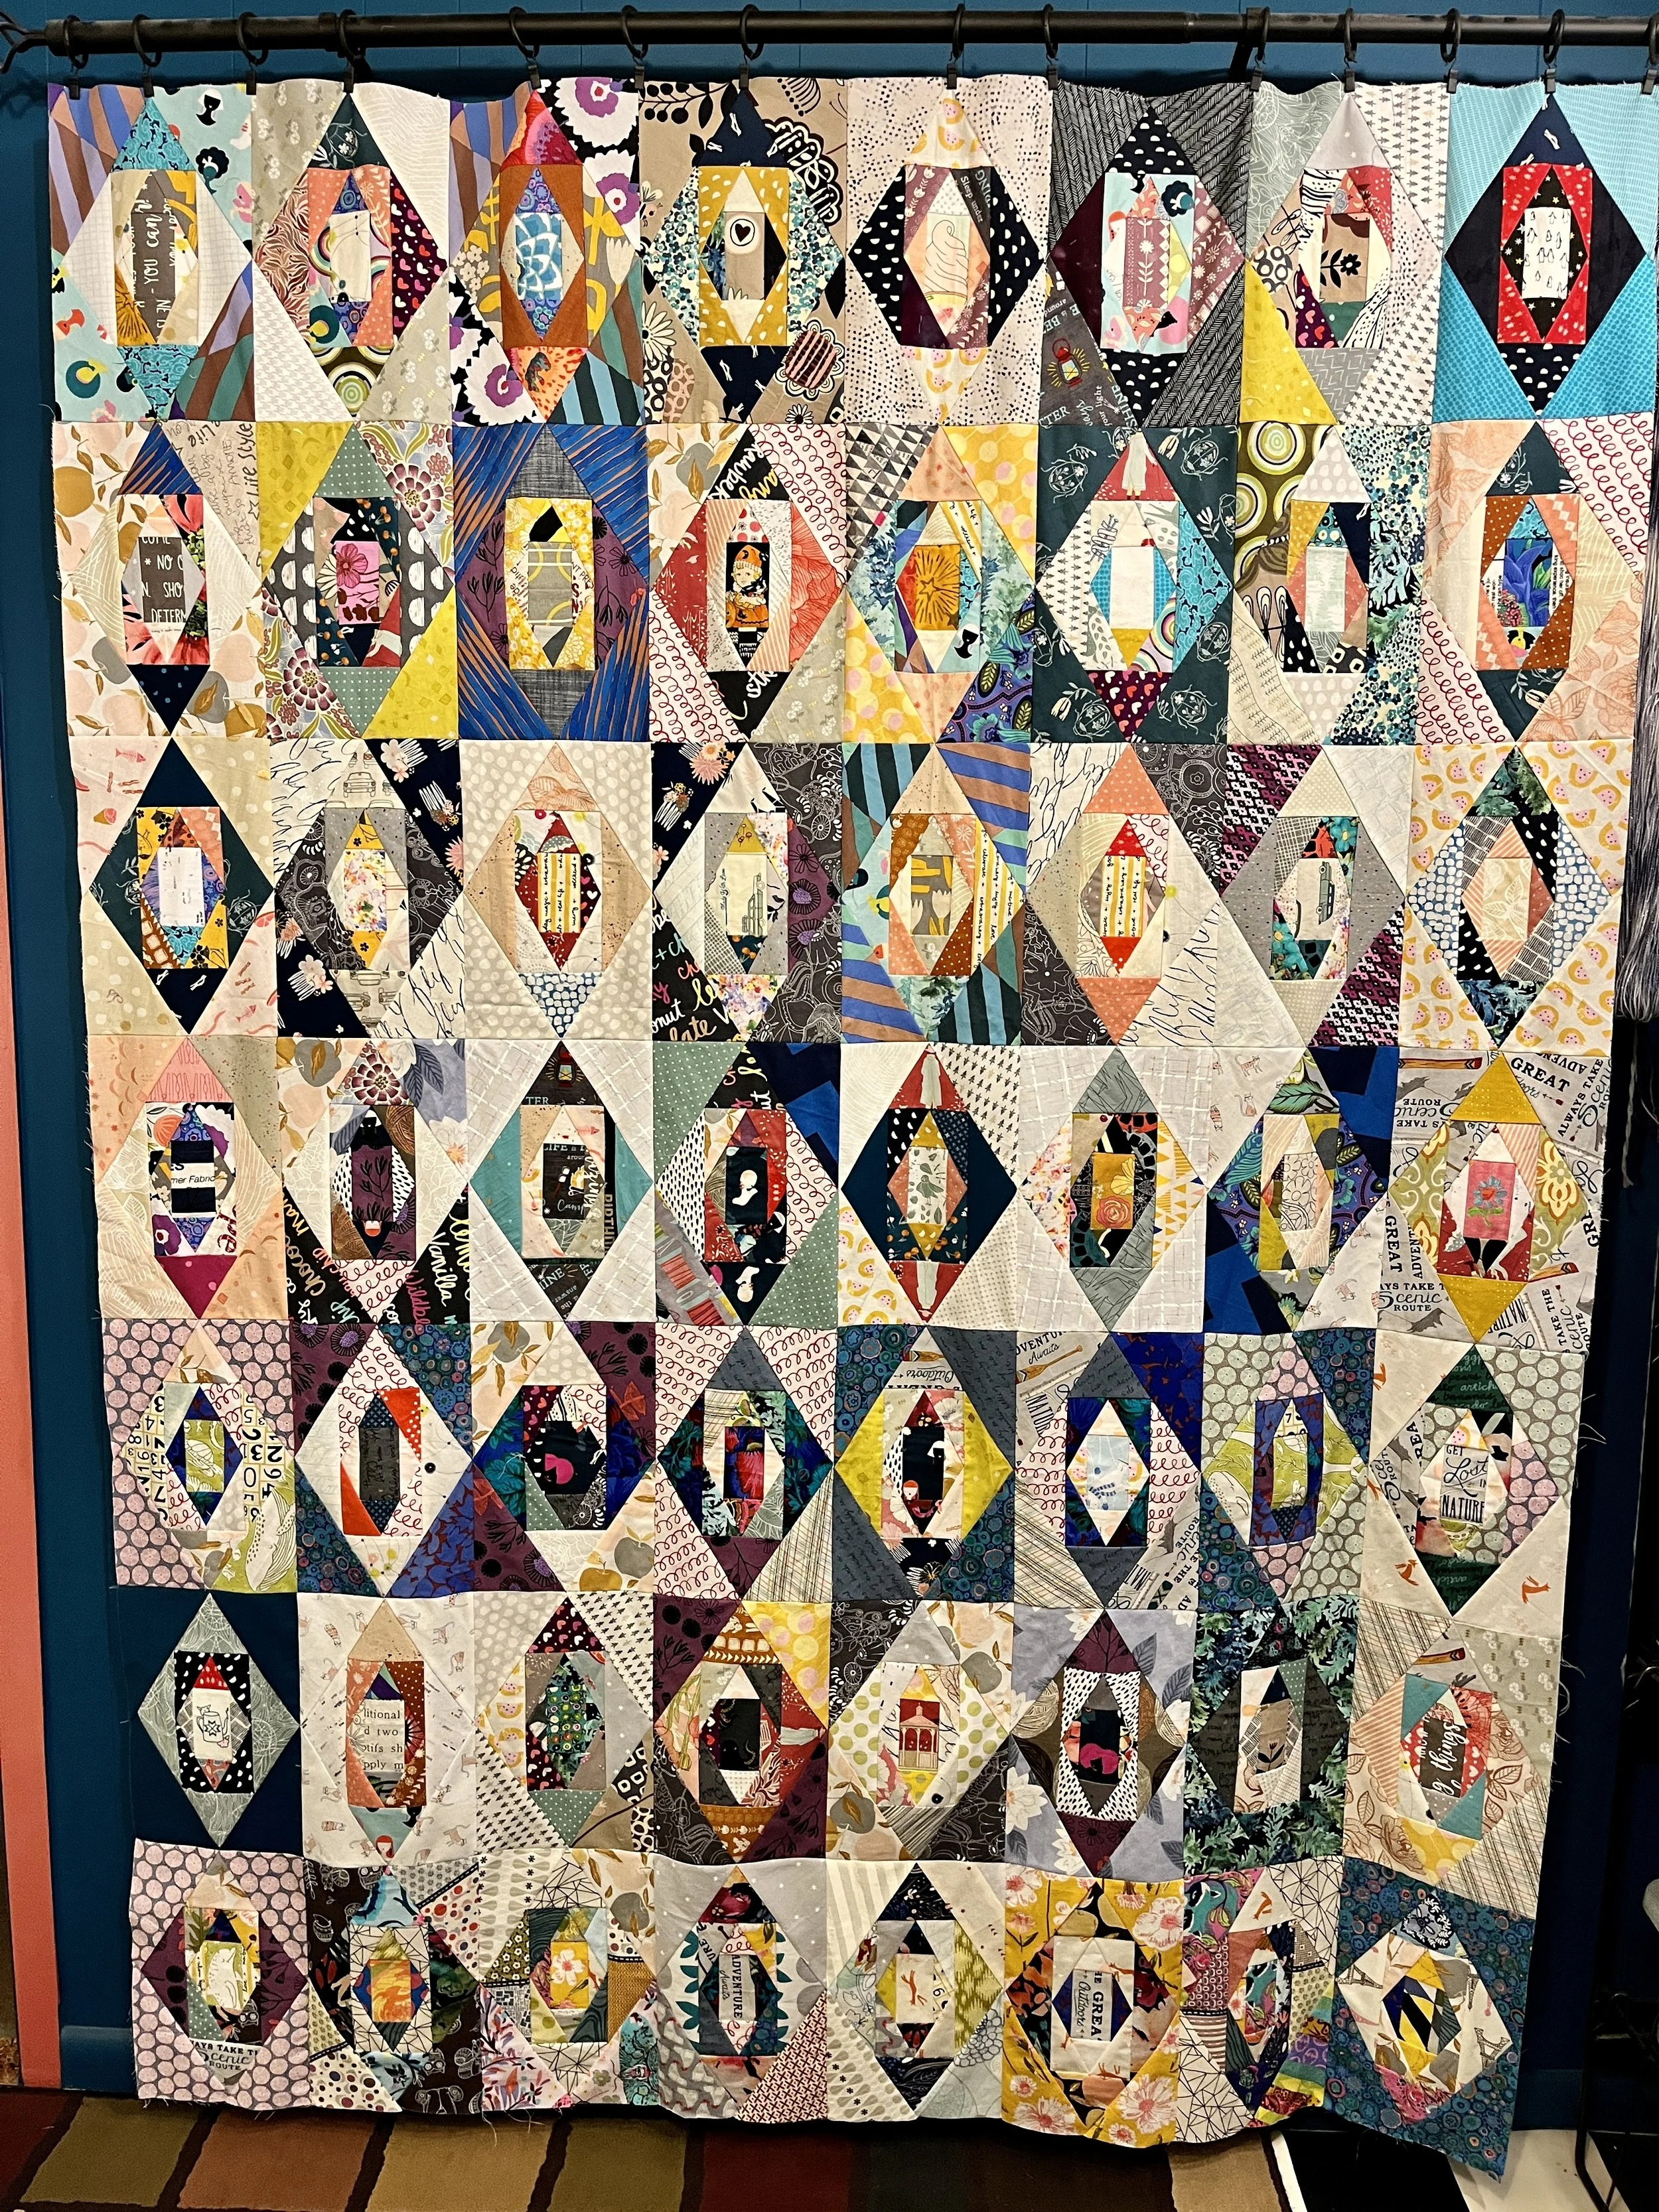
The Wensleydale booklet comes with 62 sheets; the finished project in the book includes 60; I made 63 blocks in all. You can find the booklet by visiting here.
Handy tools to use:
add a quarter tool
rotary cutter, 45mm or 28mm
rotating mat
Bohin glue stick
neutral thread
iron is indispensable
sharp scissors
90/14 quilting needle
black marker
12”x6” ruler
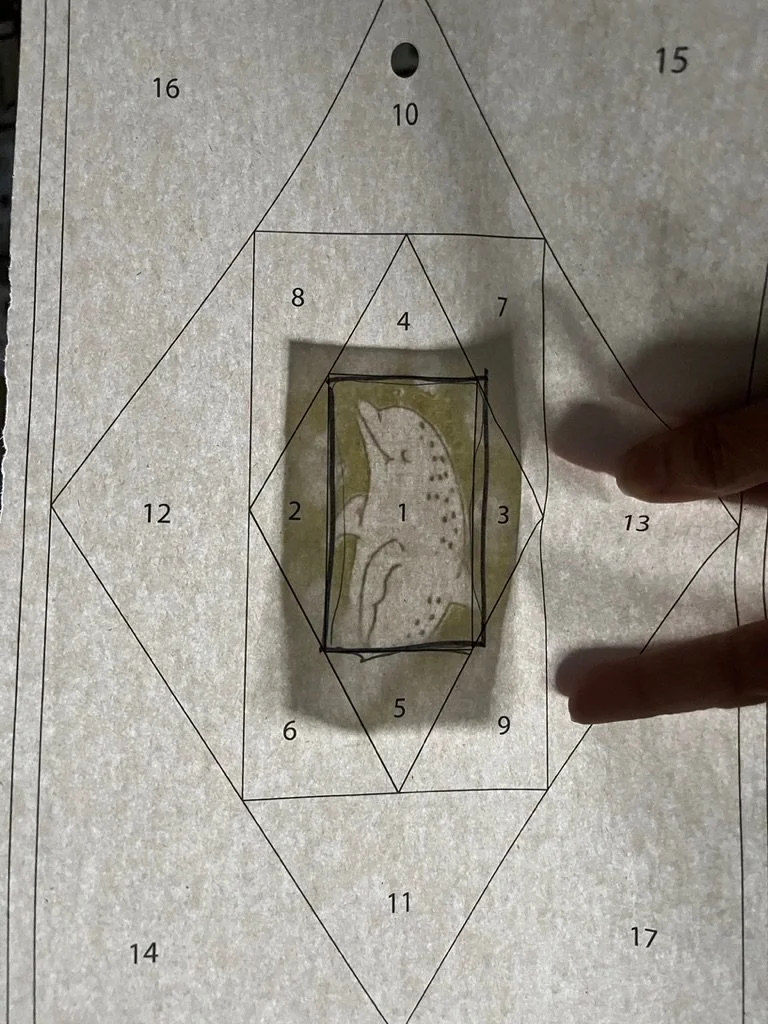
Light box (optional)
Small stitch length helps to remove paper easier, at the end.
Below I share a few images from the in-person class and from my own journey.
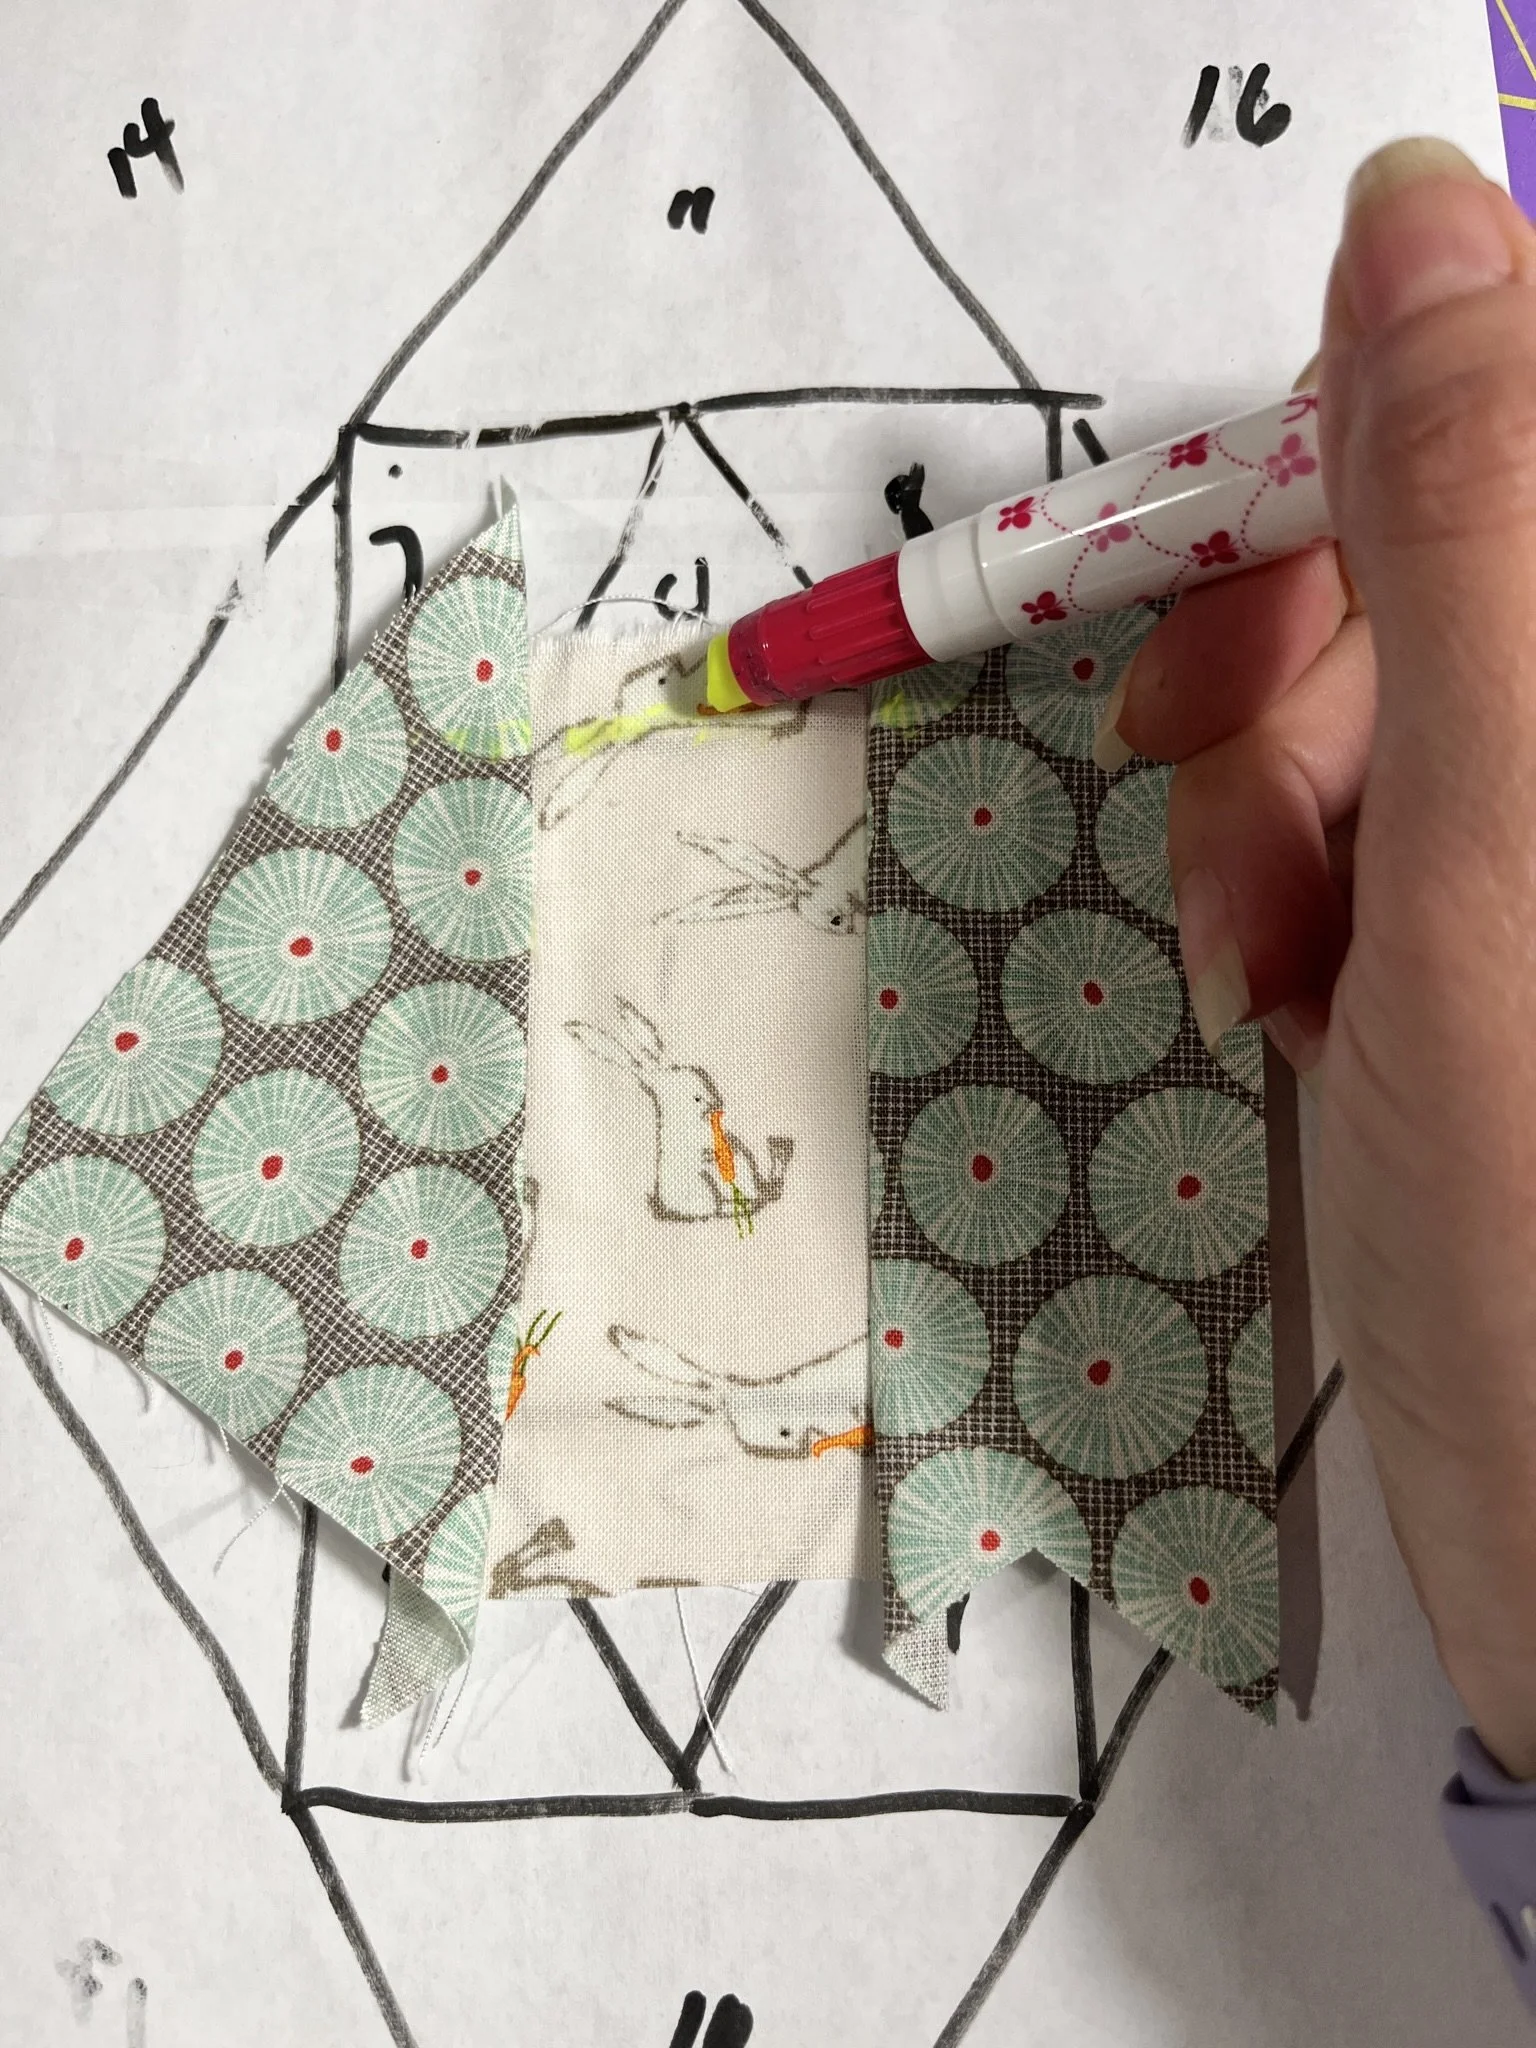
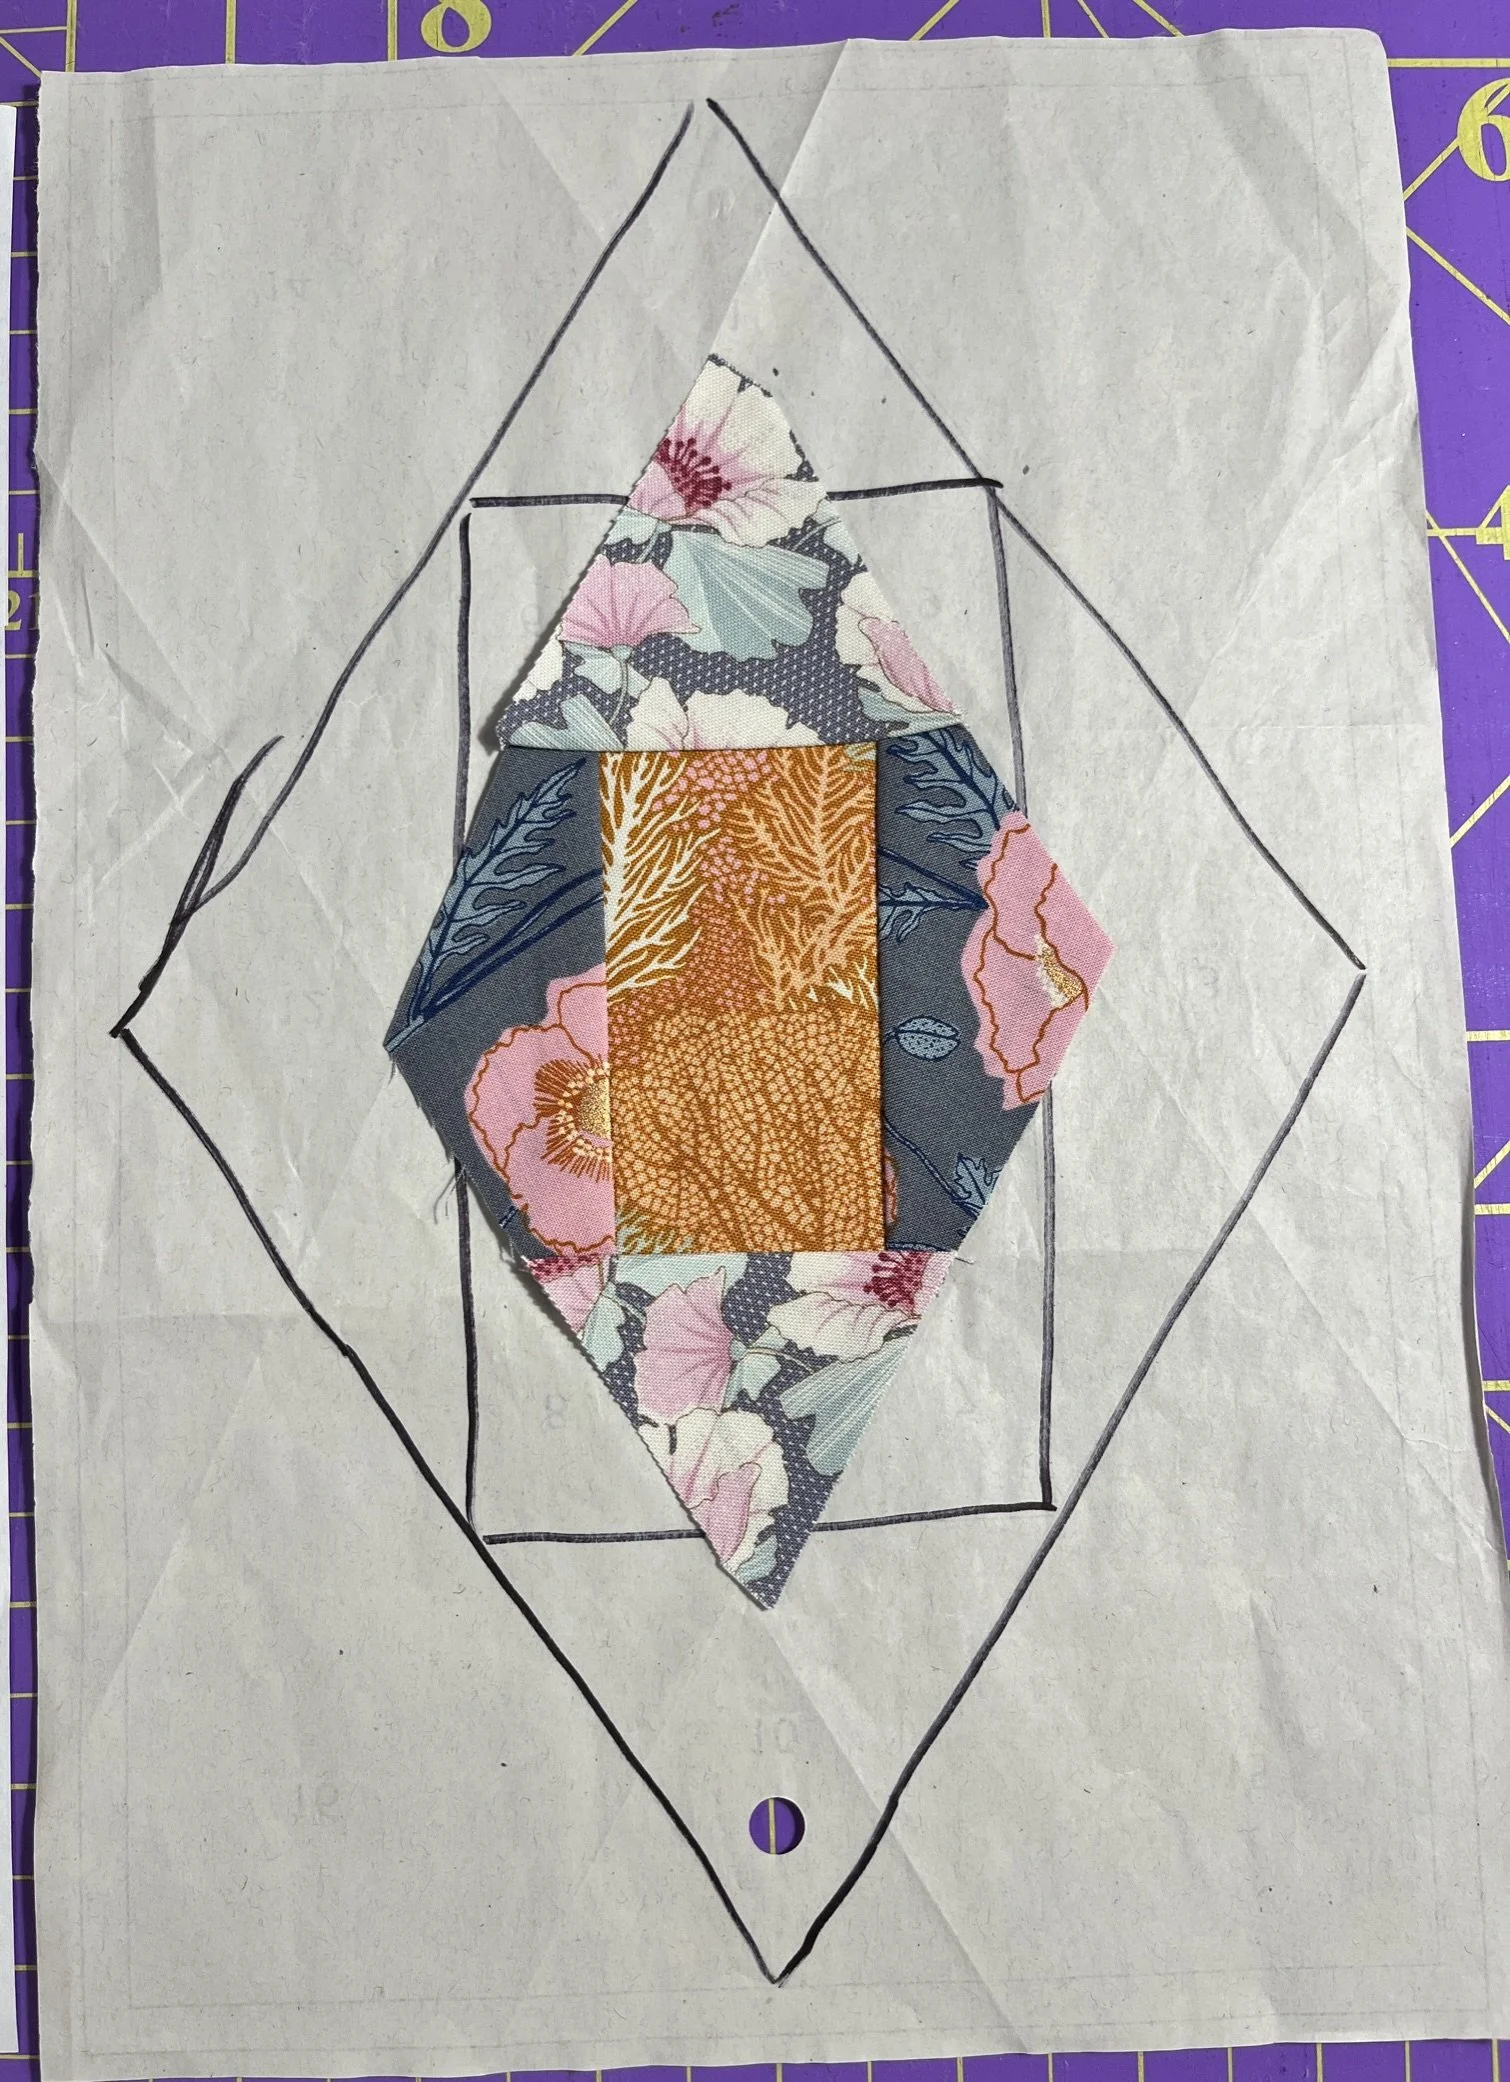
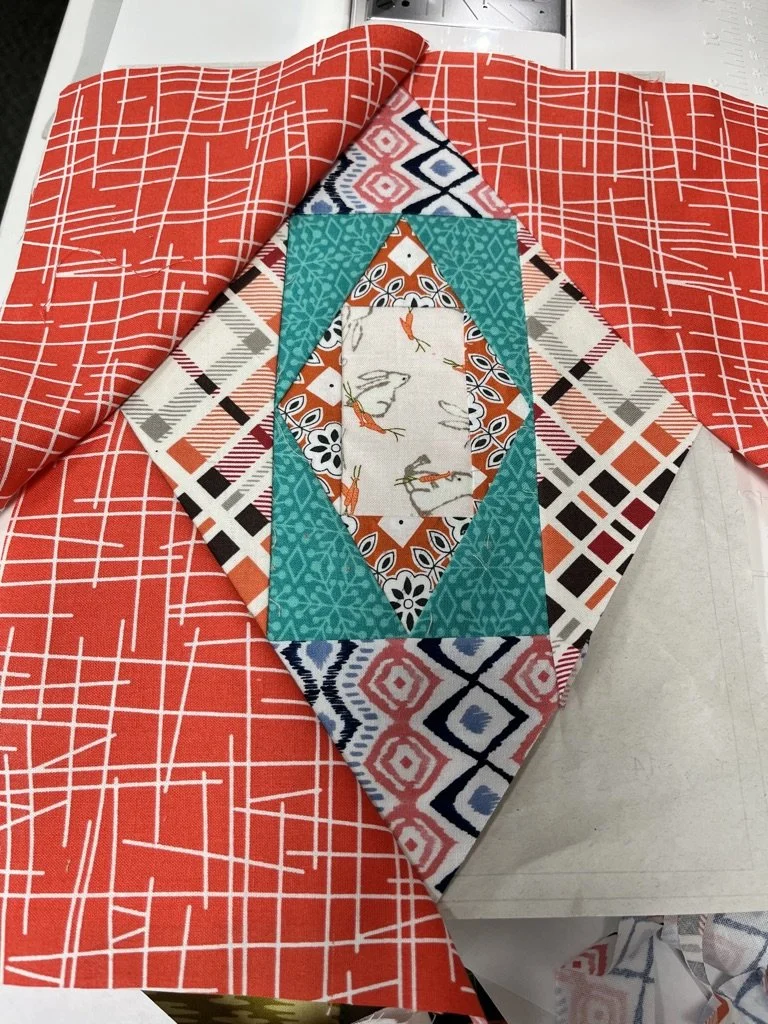
In the absence of a light box, use a black marker to draw the fabric placement shape on the opposite side of the paper, that way you know where you will be stitching on. You will stitch on the printed side with the numbers. The fabric will be placed on the opposite side.
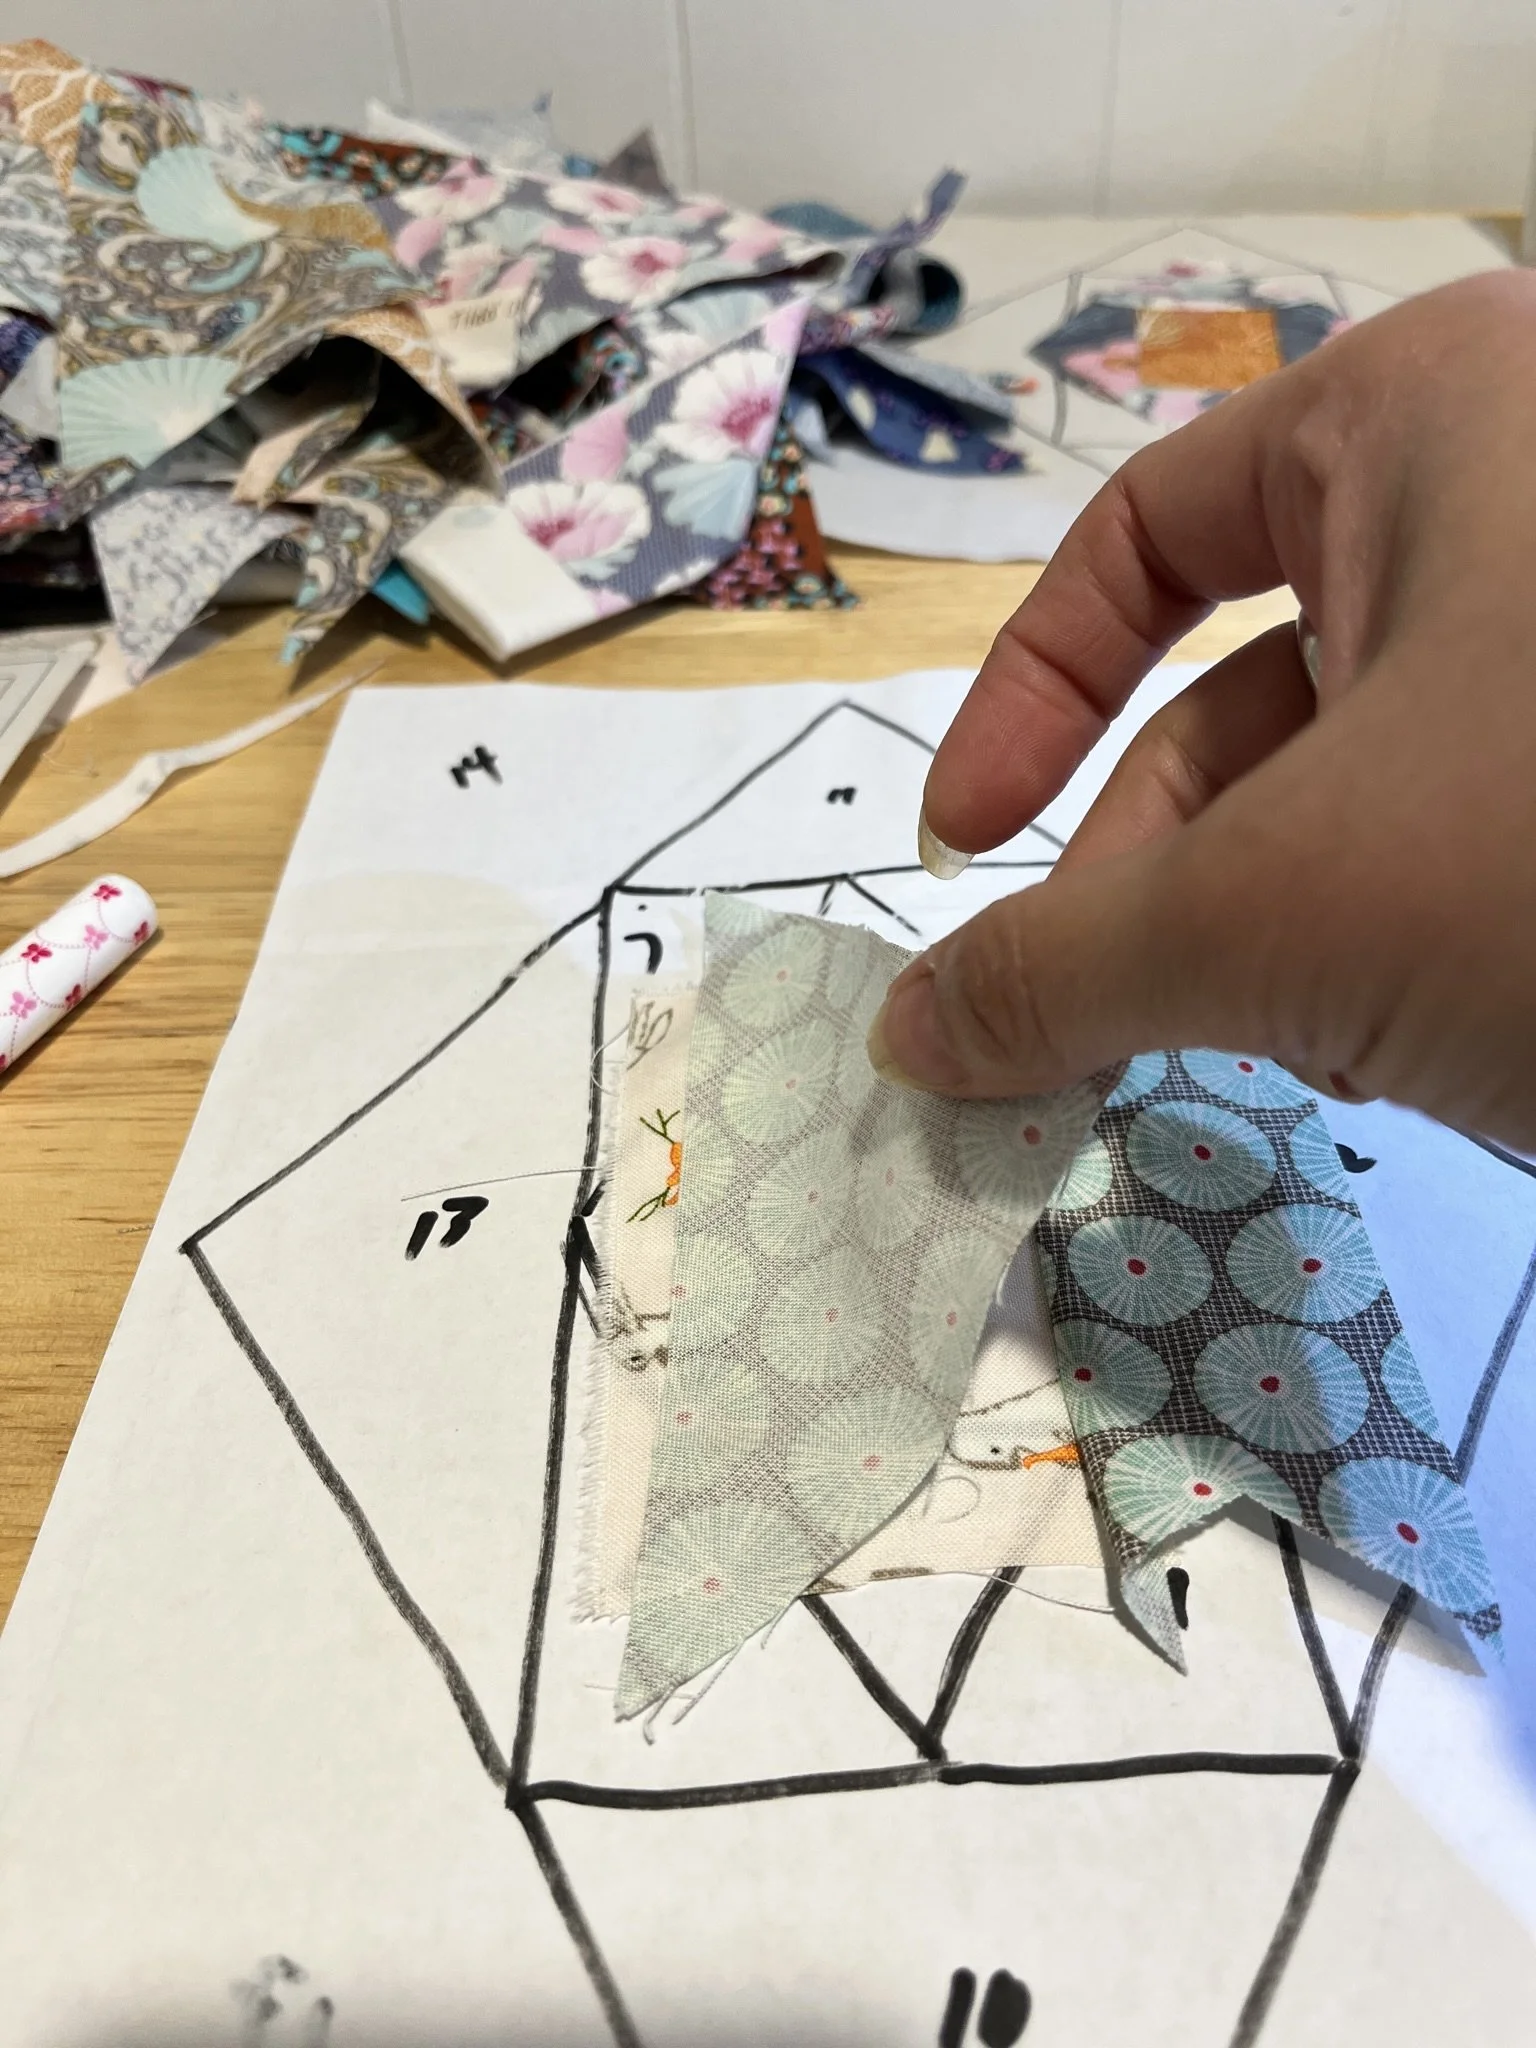
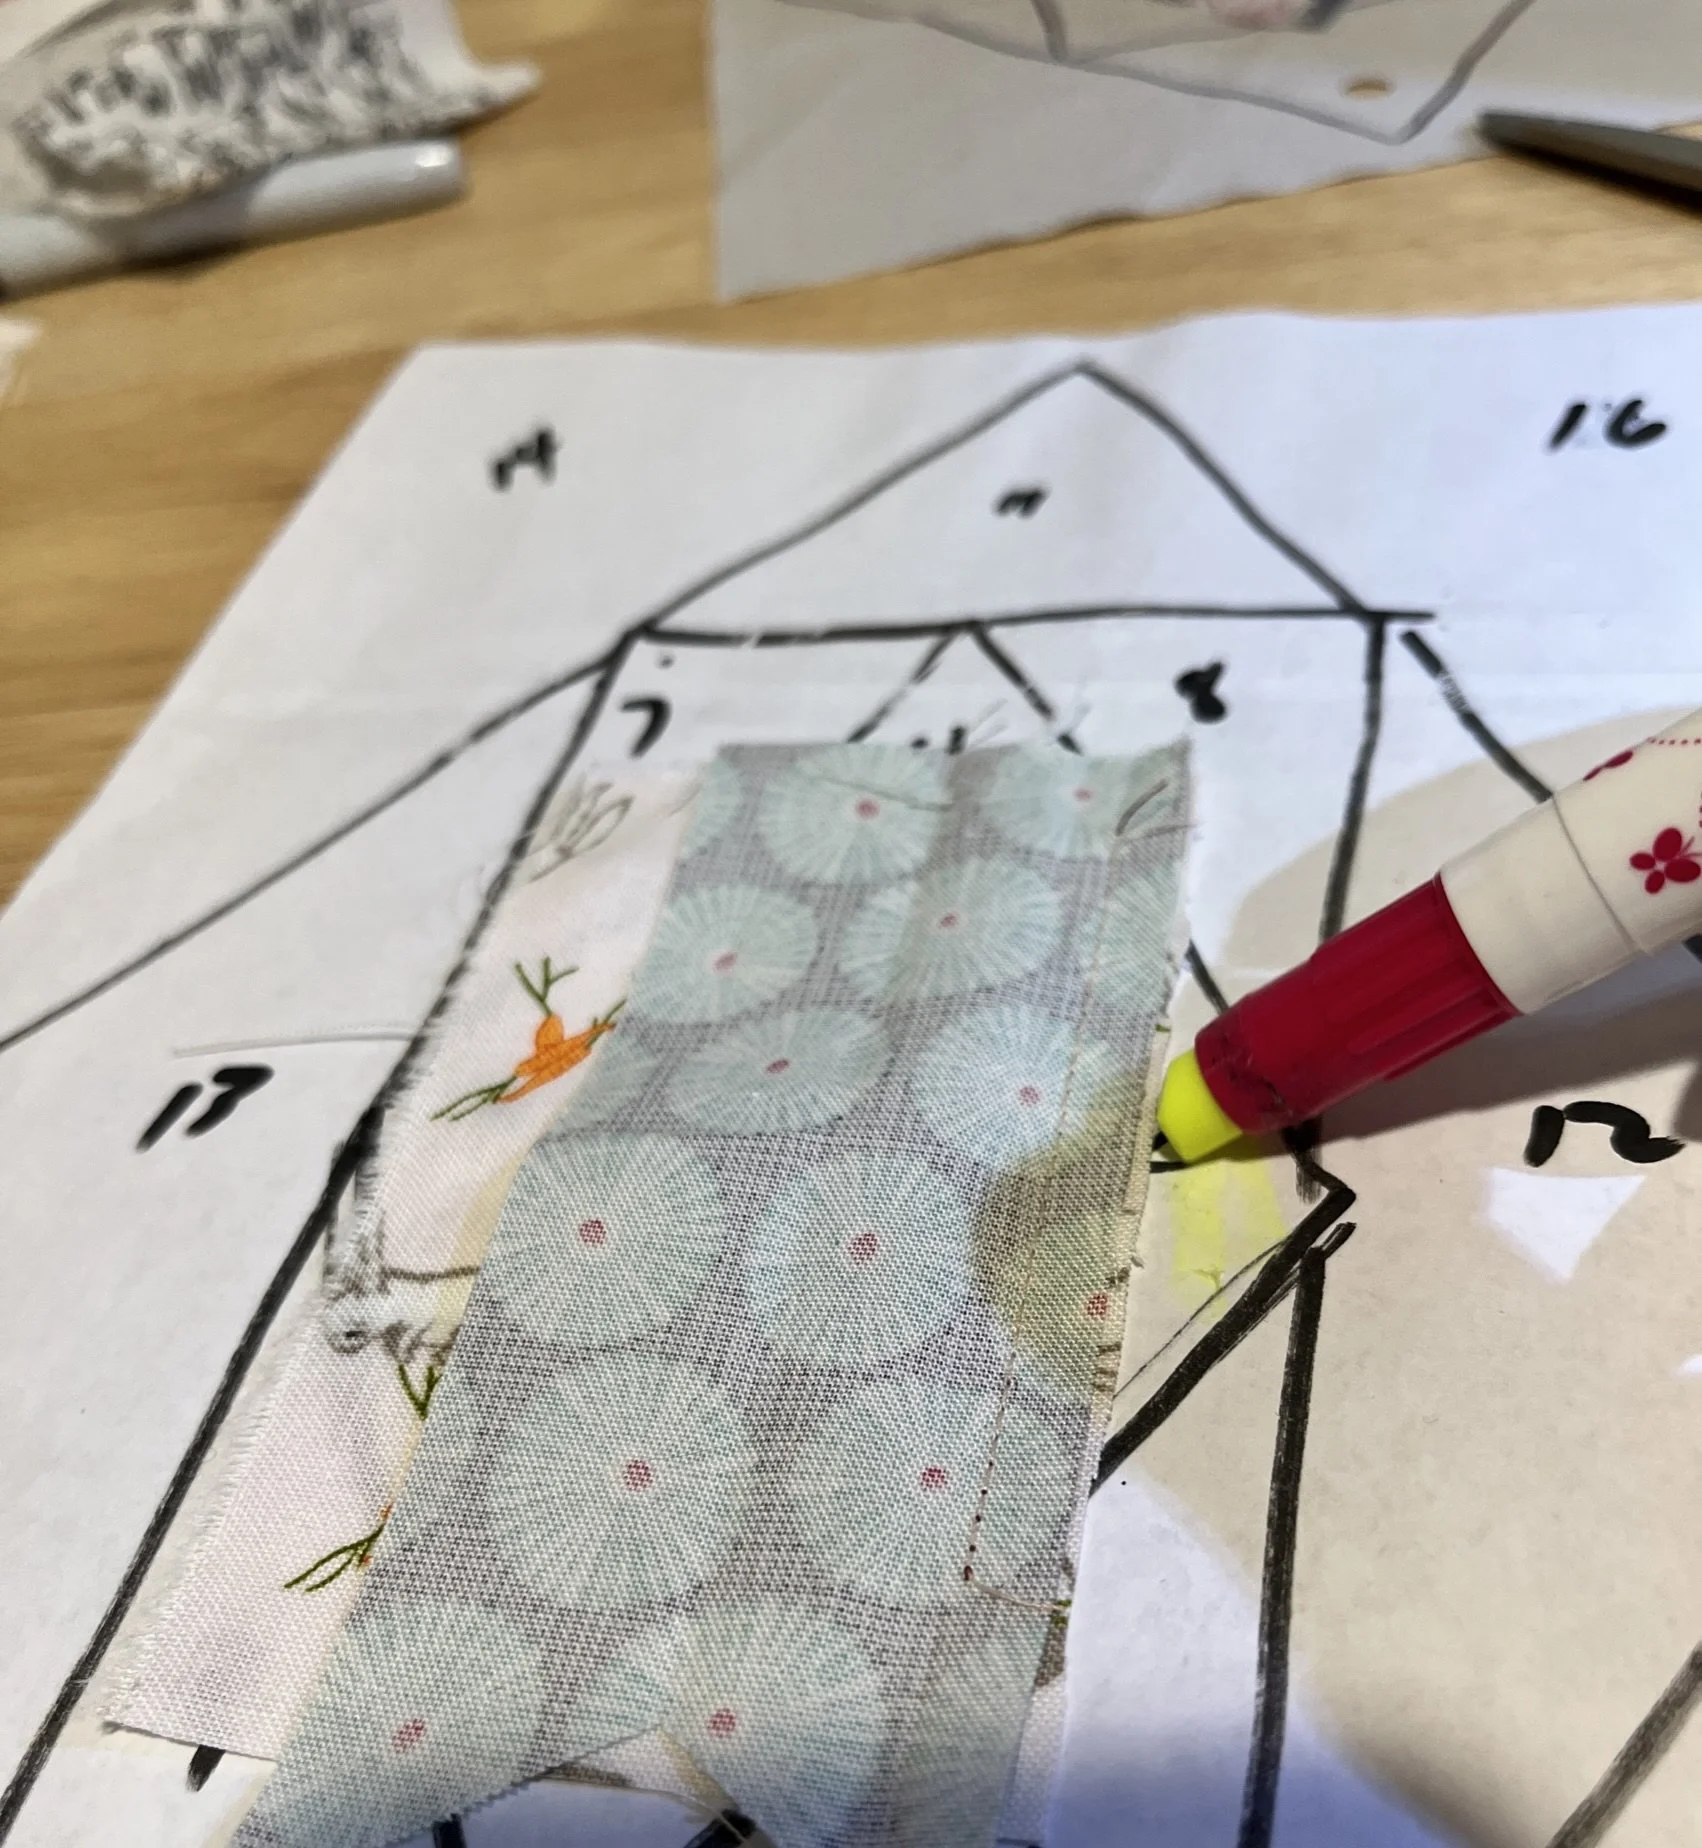
I used the bohin glue stick to keep my fabric from shifting before stitching.
I placed a small dab of glue to keep fabric smooth for the next piece.
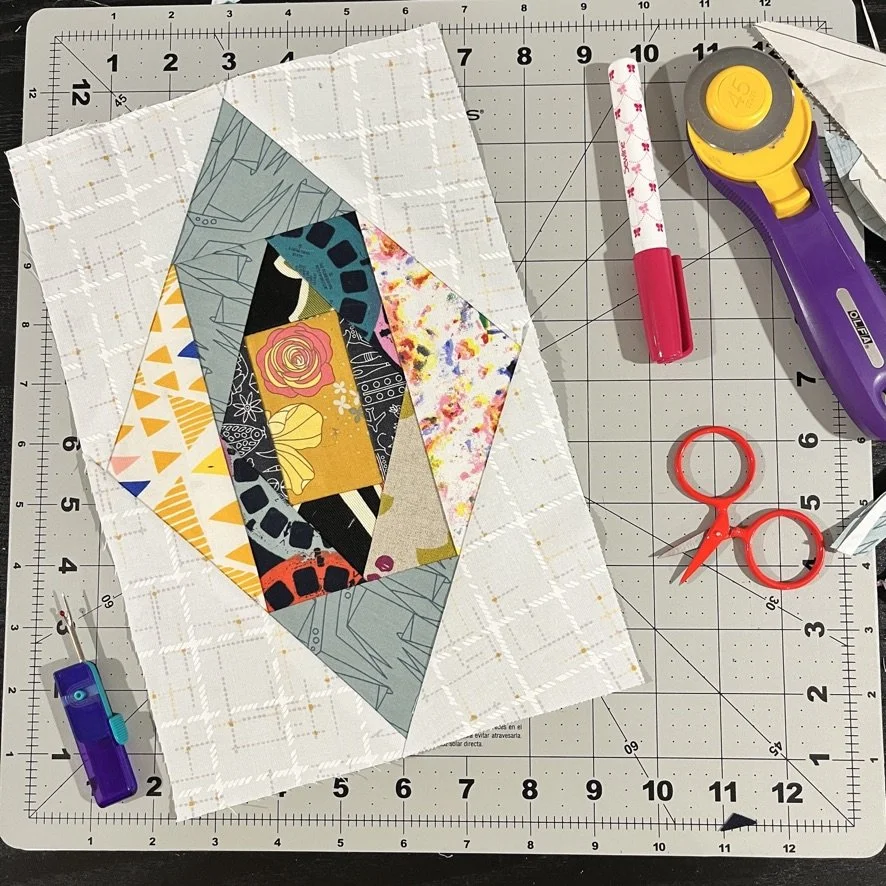
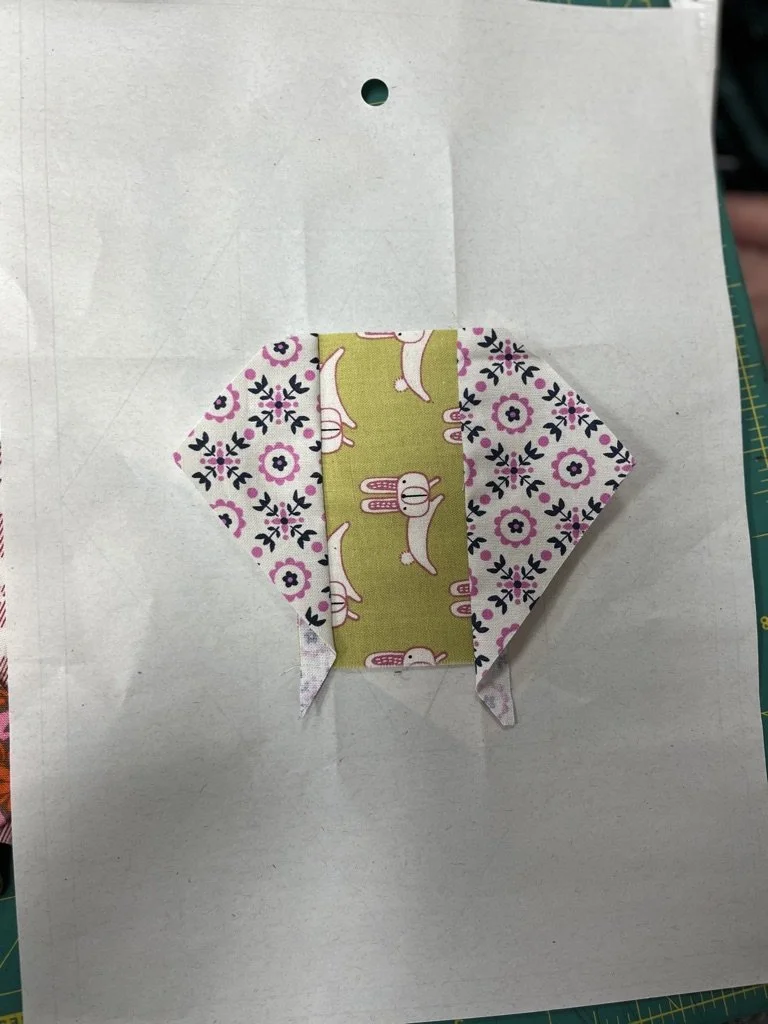
The center pieces are sewn and ironed. It would have been easier to have this side marked with black marker as a way to map out future placements.
Find the techniques that best work for you. Iron after each turn.
Continue adding fabric in number order for best results. Wait until the end to trim your block. The papers come with seam allowance cutting lines.
Join the blocks by creating rows. The secondary diamond shapes that emerge, are sure to delight.
I hope you are enjoying this book as much I’m. It’s packed with techniques that push our imagination and stitching knowledge.
Happy Summer!
